Start by gathering all your craft supplies, decluttering what you don’t use, and grouping similar items together. Designate specific zones for each activity, so everything you need is right at hand. Use vertical storage like shelves and pegboards to save space, and store supplies in clear, labeled containers for quick access.
Keep work surfaces tidy and tools within reach. Finally, create an inspiration board to spark creativity. Next, you’ll discover smarter ways to boost organization and workflow.
Assess Your Craft Supplies and Declutter
Start by gathering all your craft supplies in one place so you can see exactly what you own. Lay everything out on a table or the floor, grouping similar items together—think paints, papers, ribbons, or tools. This visual inventory helps you spot duplicates, expired products, and items you no longer use.
Pick up each item and ask yourself if you’ve used it in the past year. If not, consider donating or discarding it. Don’t hold onto supplies just because you “might need them someday.” Keeping only what you love and use clears space and reduces clutter. As you sort, set aside broken or unusable items for disposal. By the end, you’ll have a clear picture of your essentials, ready for organized storage.
Designate Zones for Different Activities
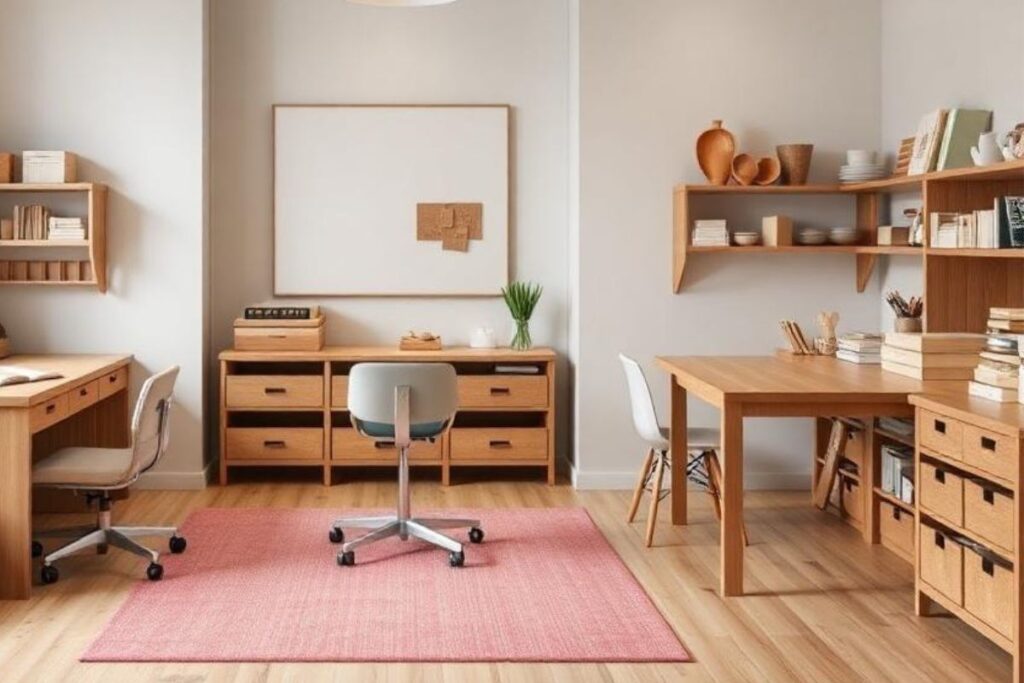
One simple way to streamline your craft room is by assigning specific zones for different activities. Start by identifying your main crafting tasks, such as sewing, painting, scrapbooking, or jewelry-making. Allocate a dedicated workspace for each activity, keeping the necessary tools and materials within arm’s reach. For example, set up a table for cutting fabric, a corner for painting, or a desk for papercrafts.
Use trays, bins, or drawers to keep supplies for each zone separate and easy to find. This approach prevents clutter from spreading and makes it easier to switch between projects without losing track of materials. By clearly defining zones, you’ll boost your efficiency, reduce cleanup time, and create a more enjoyable, productive crafting environment.
Maximize Vertical Storage Space
While floor space in a craft room is often limited, you can make the most of your area by looking up and utilizing vertical storage. Install sturdy wall-mounted shelves above your workstations to keep supplies within reach yet off your desk. Pegboards are a game changer—hang scissors, rulers, and spools, arranging them based on frequency of use. Don’t overlook the back of your door; mount hooks or slim racks for extra storage.

Tall bookcases or cabinets give you room to store larger items or bins, making use of every available inch. Utilize stackable drawers or cube organizers to further maximize height. By thinking vertically, you’ll free up workspace, keep your materials organized, and make your craft room feel more spacious and efficient.
Utilize Clear Containers and Labels
Clarity is key when organizing craft supplies, and clear containers let you instantly see what’s inside without rummaging. Choose stackable bins, jars, or boxes made of transparent plastic or glass. Store similar items together—buttons in one jar, ribbons in another—so you always know where everything is.
Label each container with its contents using a label maker or durable stickers. Don’t skip this step, even if the container is clear; labels reinforce order and make it quicker to put things away. Place frequently used supplies in easy-to-reach spots, and store seasonal or rarely used items higher up. When you combine clear storage with accurate labeling, you’ll save time, reduce frustration, and keep your creative space feeling tidy and inspiring every day.

Optimize Work Surfaces for Efficiency
To make the most of your craft room, dedicate work surfaces to specific tasks and keep them uncluttered. Assign one table for cutting, another for assembling, or set up a dedicated area for painting. This approach helps you avoid mixing supplies and keeps each project stage organized. Always clean up after each session so you start your next project with a clear space.
Use trays or mats to define work zones on larger tables. Keep only the materials you’re actively using on the work surface; store extras elsewhere until needed. If you have limited space, consider fold-down tables or mobile carts that tuck away when not in use. With a little planning, your work surfaces stay functional, making your crafting smoother and more enjoyable.
Store Tools for Easy Access
One of the best ways to stay productive in your craft room is by keeping your essential tools within arm’s reach. Use pegboards or magnetic strips on the wall to hang scissors, rulers, and frequently used hand tools. Drawer dividers are perfect for smaller items like pens, glue sticks, and craft knives, preventing clutter and saving time searching. Store larger tools in labeled bins or clear containers on open shelves for quick identification.
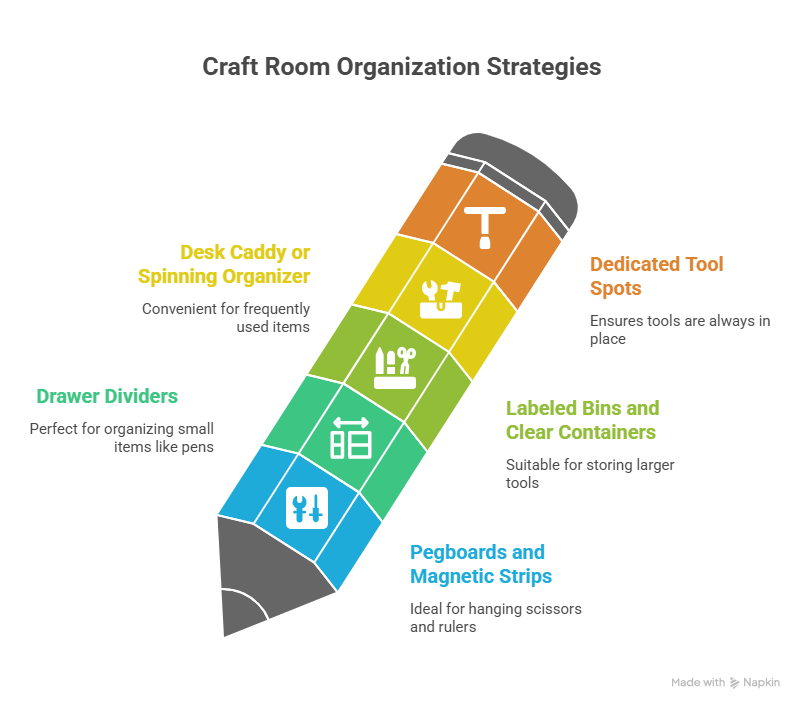
Keep a small caddy or spinning organizer on your desk for items you use every session. Assign each tool a dedicated spot so you’ll always know where to find it. Regularly return tools to their place after use, maintaining an efficient space that supports your creative flow and maximizes productivity.
Create an Inspiration Board or Display Area
While your craft room should be functional, it also needs to spark creativity. Set up an inspiration board or display area to showcase ideas, color palettes, or favorite pieces. Use a corkboard, magnetic board, or a simple wire grid on the wall. Pin up sketches, magazine clippings, fabric swatches, or photos that excite you.
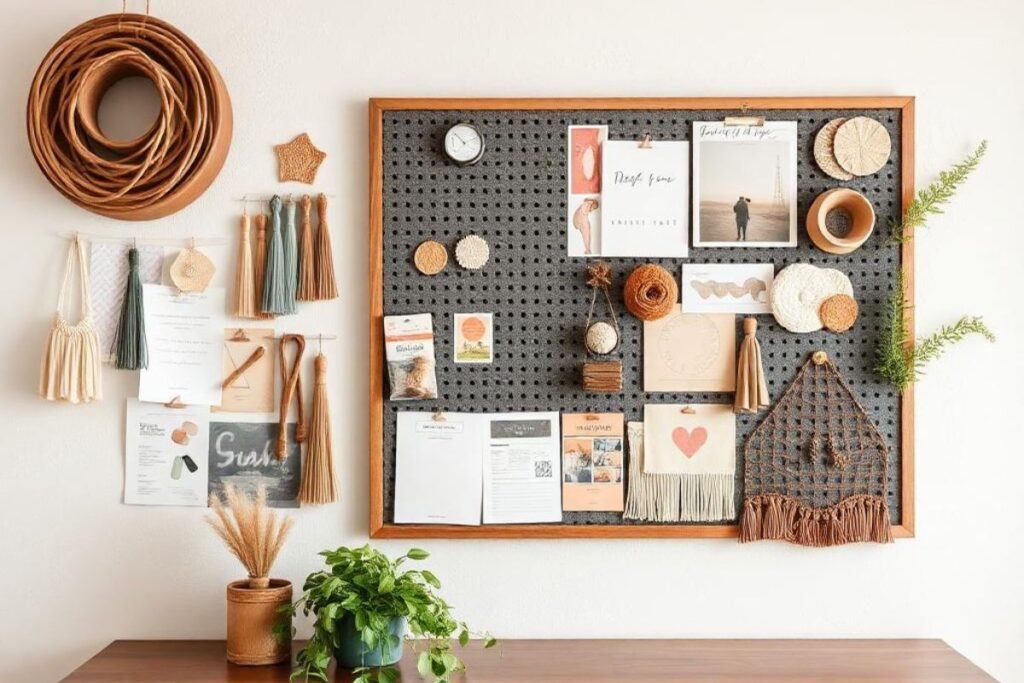
Rotate items regularly to keep your board fresh and motivating. If you prefer, use a shelf to display small projects, decorative jars, or unique materials you want to try. Position your inspiration board or display area where you’ll see it often—above your desk or workstation is ideal. This visual stimulus can help you brainstorm, overcome creative blocks, and keep your passion for crafting alive and thriving.
Conclusion
By putting these seven tips into action, you’ll transform your craft room into a functional, inspiring space. Start by decluttering and sorting supplies, then set up dedicated zones and maximize your vertical space. Use clear containers and labels for easy access, and keep your tools within reach. Optimize your work surfaces for productivity, and don’t forget to add an inspiration board. With a bit of planning, you’ll enjoy a more organized, creative craft room every day.